By Shivani Garg
When you share an MS Excel worksheet, you can prevent other users from editing data in the worksheet. MS Excel has feature to protect your worksheet. You can lock the cells and then protect worksheet with a password.
With protected worksheet, your can make only certain parts of the sheet editable and users will not be able to edit any data in other range of the worksheet.
How to Protect Worksheet in MS Excel
Let's learn with Example
>> Select the worksheet you want to protect. Right click worksheet Tab and Click Protect Sheet.
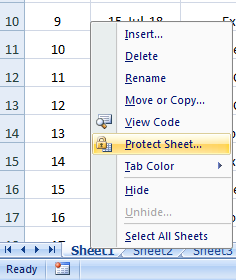
>> Protect Sheet dialog Box will appear.
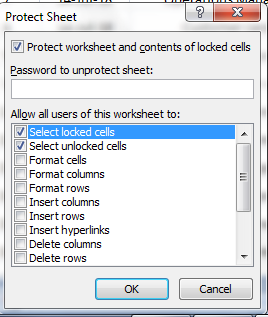
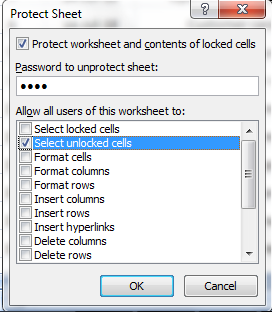
>> Enter a password. Check the actions you allow the users of your worksheet to perform.
>> Click OK.
If you don't check any of the actions, users can only view the worksheet.
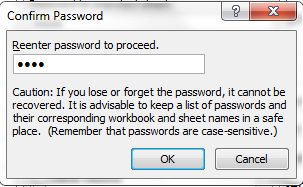
>> Confirm the password & click OK.
Your worksheet is now protected.
>> Try to Edit any cell, you will get the dialog Box as :

To Unprotect a Worksheet, Right click on the Worksheet tab and click Unprotect Sheet & Enter the Password you entered for Protecting the worksheet.
Also Read, How To prevent users from Adding, Modifying, Moving, Copying, or Hiding/Unhiding sheets within a workbook in the articles How to Protect Workbook in Ms Excel in MS Excel tutorials for you :)
Related >>
Labels:
MS Excel
Shivani Garg