Contents of page >
- Step 1) UI tool for mongoDB - Install RoboMongo tutorial
- Step 2) I downloaded zip file and extracted it.
- Step 3)
- Step 4) Enter connection name.
- Step 5) You are connected now >
Step 1) UI tool for mongoDB - Install RoboMongo tutorial
Download https://robomongo.org/download

Step 2) I downloaded zip file and extracted it.
And open location on which unzipped file is present (In my system it is E:\softwares\).
E:\softwares\robomongo-0.9.0-rc9-windows-x86_64-0bb5668\Robomongo.exe, open it.
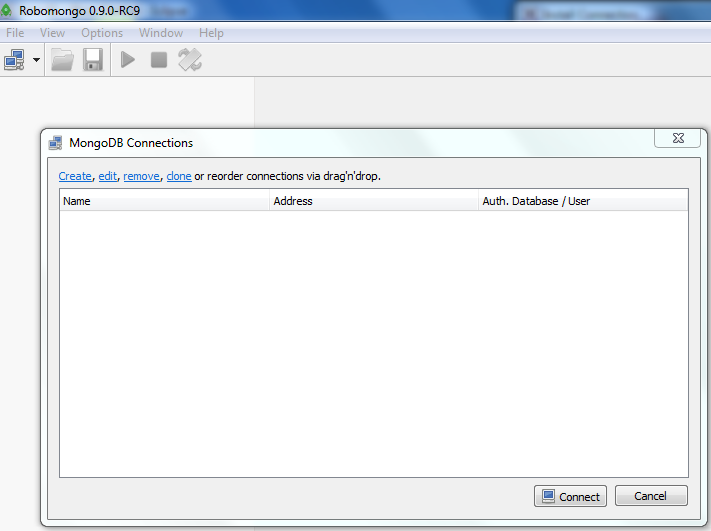
Step 3)
Click on Create
Step 4) Enter connection name.
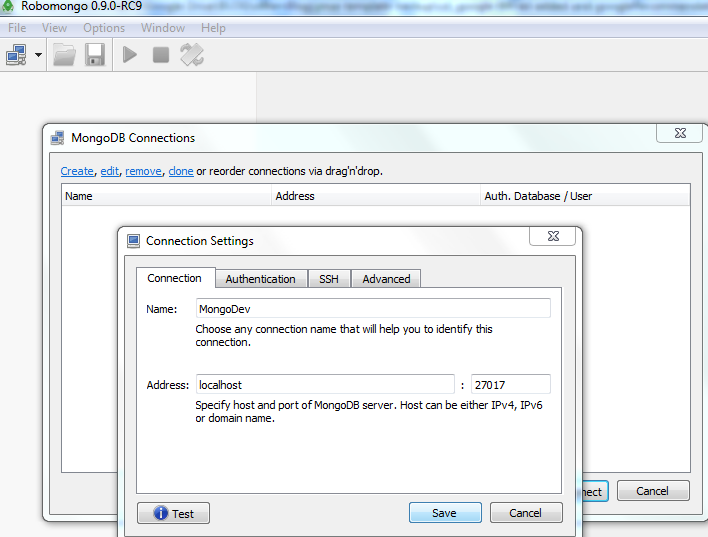
Keep address as localhost (provided mongoDb server is running on your local machine), and
port as 27017 (It’s default port on which mongoDB run)
Step 5) You are connected now >
Now you can see list of database on left side, further you can explore it see
- List of database
- list of collections and
- List of documents.
Having any doubt? or you liked the tutorial! Please comment in below section.
Please express your love by liking JavaMadeSoEasy.com (JMSE) on facebook, following on google+ or Twitter. You may join our fbGroup or linkedInGroup as well.
RELATED LINKS>
Using like statement (as in sql) in MongoDB
Delete documents in collection (table) in mongoDB
How to Delete all documents from collection in MongoDB
Labels:
MongoDB